How to create a point cloud from an arbitrary mesh in Blender
If you want to registrate multiple tof cameras on one spot, chances are high that you are using Iterative Closest Point (ICP) to maximize the overlap between your point cloud and a model you created with Blender.
This blog post contains a step by step guide to export a pcl icp compatible PLY file usable for registration.
Create your models in Blender
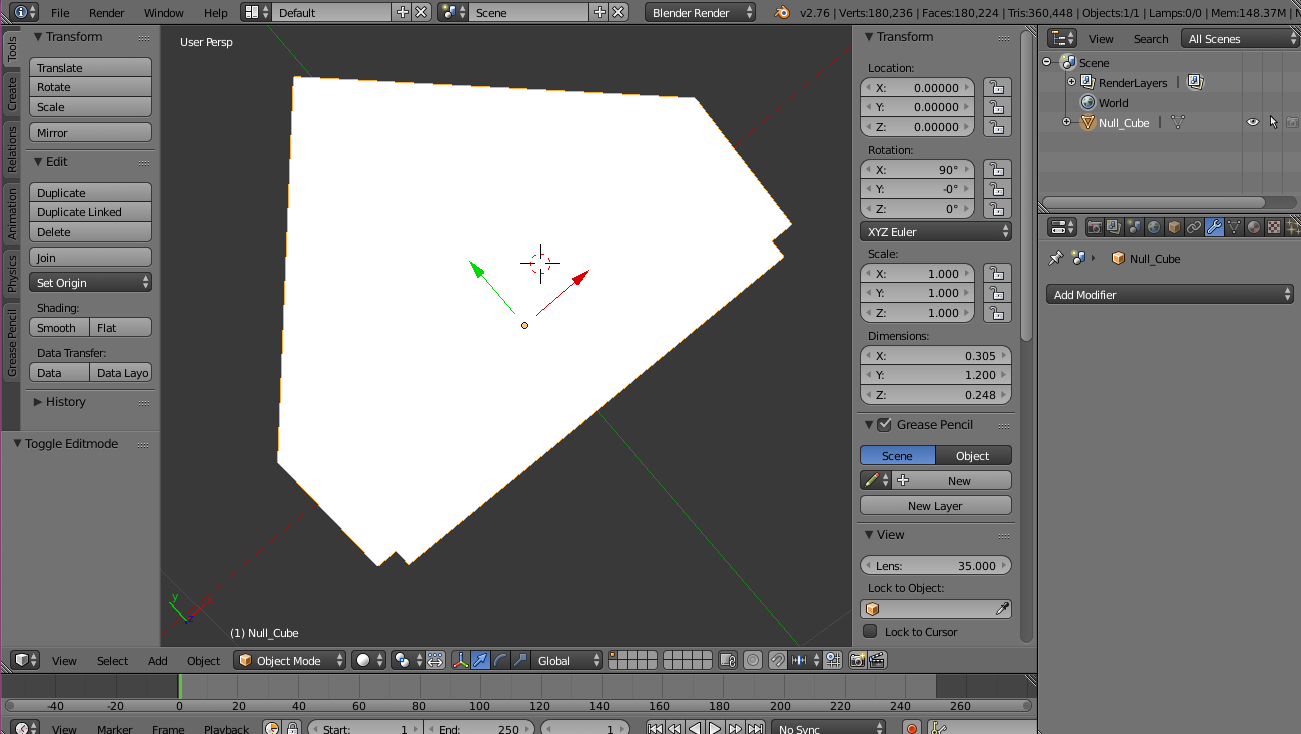
First of all you create your model in Blender. Be aware that you want to create one single mesh with the correct dimensions. So maybe you have to join different meshes with Str+J.
Subdivide surface
Now select your figure (we are in object mode), click “Add Modifier” in the panel with the wrench icon and then on “Subdivision Surface”.
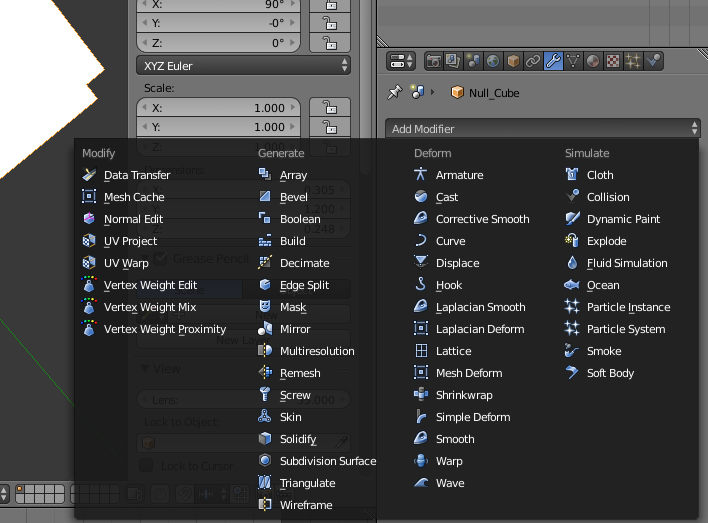
- Switch from “Catmull-Clark” to “Simple”
- Increse the Subdivision to 6 in View and Render
- Apply
Export as PLY
You can check whether the subdivison worked by hitting the TAB key which brings you to the Edit Mode of Blender. If there are a lot of vertices everyting worked.
Now you go to File > Export > Stanford (.ply).

Uncheck “Normals”, “Vertex Colors” and “UVs”. Only check “Apply Modifiers”. Set Forward to “-Z Forward” and Up: “Y Up”. Export PLY and that is it.
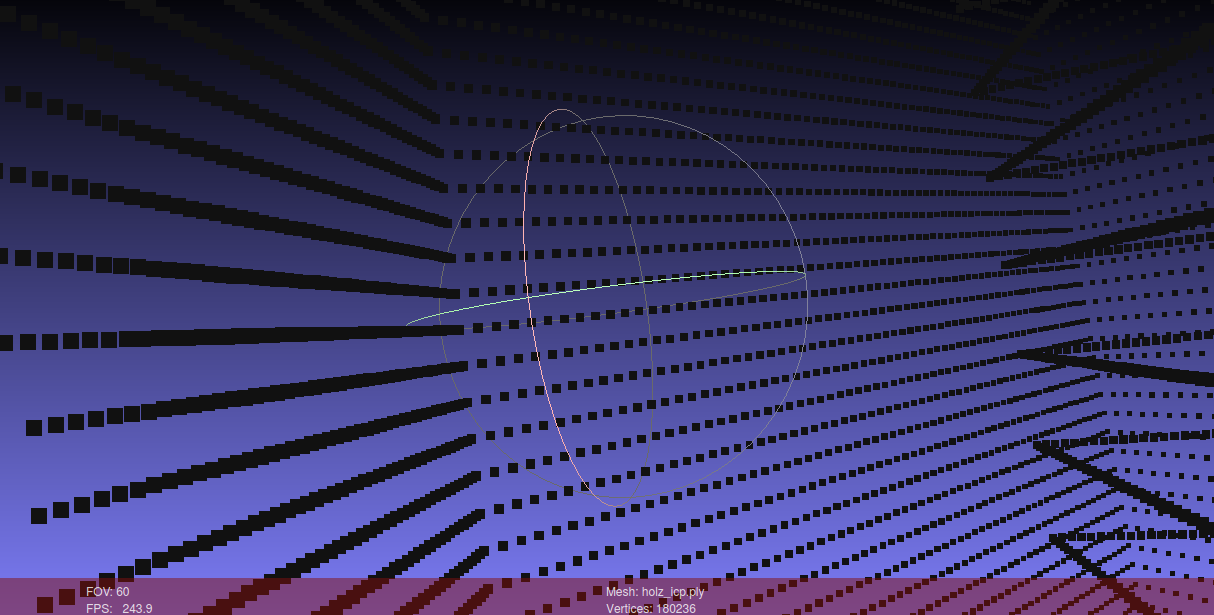
Further thoughts
Though the point cloud library comes with a tool for mesh sampling I came up with this variant because it does not produce thick surfaces and the points are aligned in a dense and regular grid.
